
With Easter coming up, I thought I’d do a fun experiment to see the difference between dyed white eggs and brown eggs.
I honestly thought that you couldn’t dye brown eggs for the first several years we had the farm. Mason was still young enough that he wasn’t interested, however, even if he was, I was fully convinced that I needed to buy some white eggs from the store if I wanted the dye to work.
Boy, was I wrong!
I actually love how deep and rich brown eggs can be when they’re dyed and I’d love to bring you along for this fun learning experience.
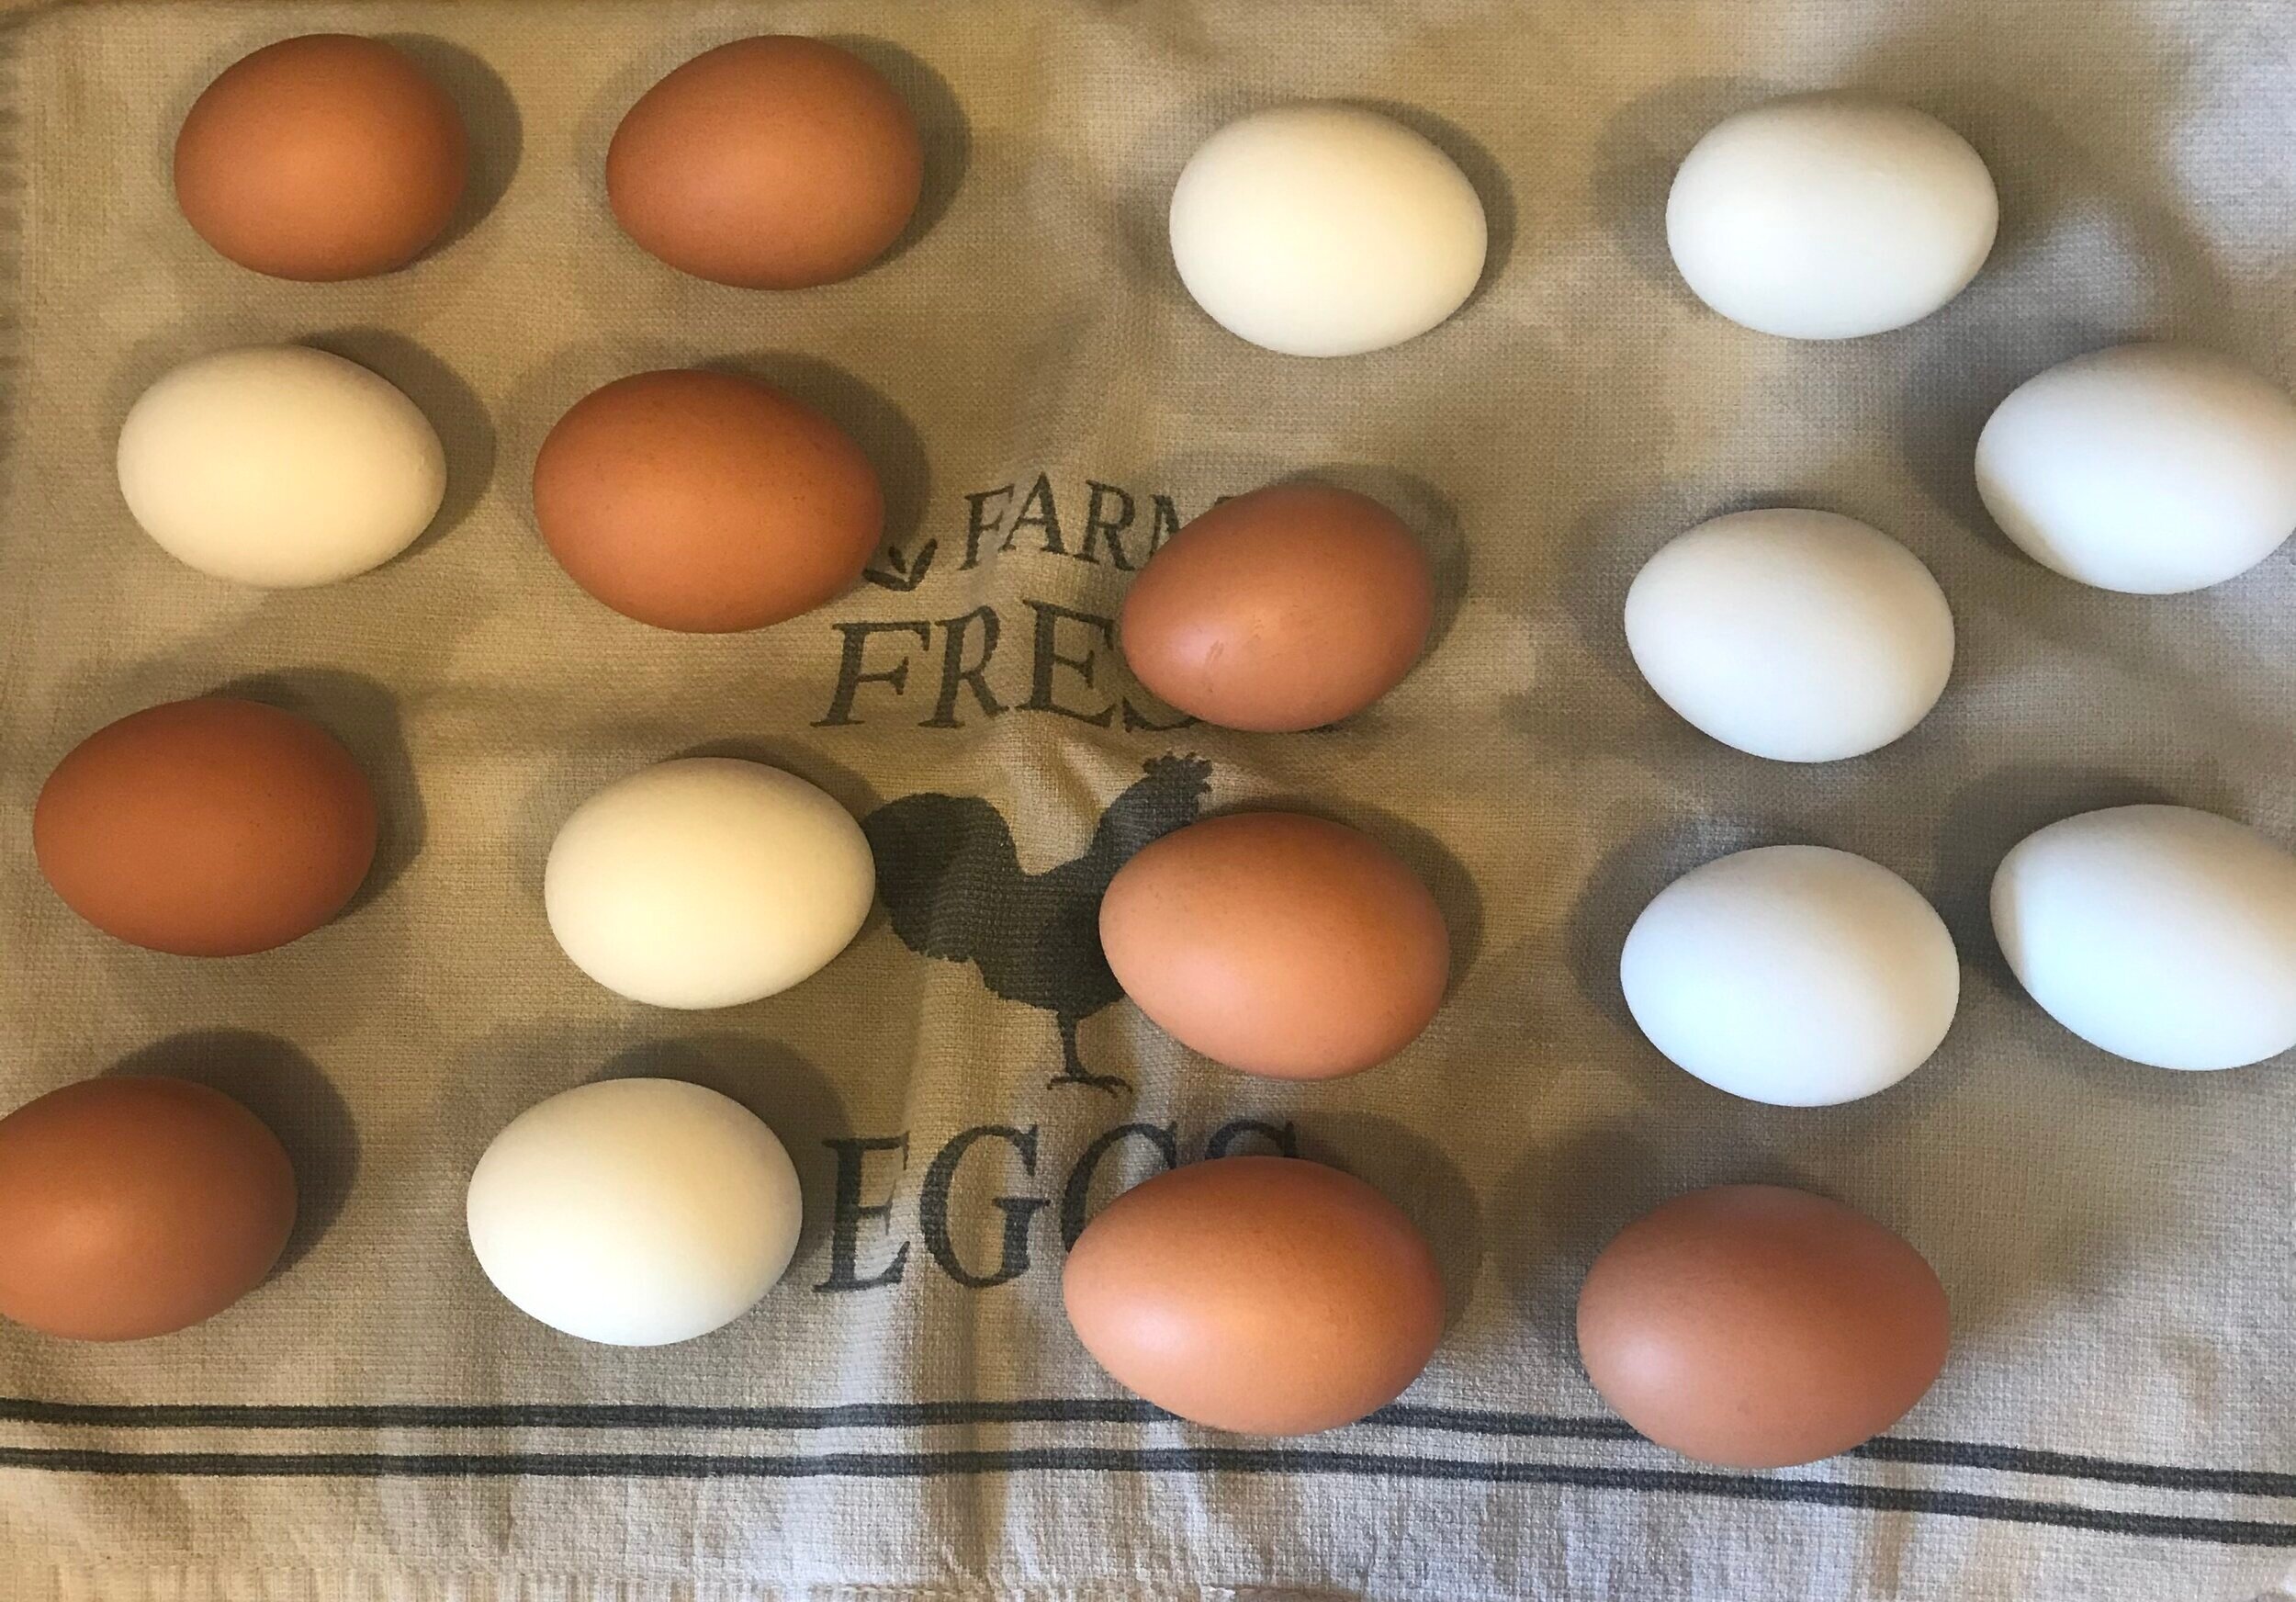
I started with some of our brown eggs and some white ones from the grocery store. Did you know that the only thing that determines egg color is the breed of chicken? Brown eggs aren’t necessarily healthier, that all depends on how the chicken was fed and raised.
Hard boiling Eggs for Dyeing
Add a single layer of eggs to the bottom of a large pot and add enough cool water to cover all the eggs
Bring the water to a boil for 10 minutes
Immediately dump hot water, being careful not to crack the eggs
Add cold water or ice water to cool the eggs
Once cool enough to handle, place eggs on a tea towel to dry
Store them in the fridge until it’s time to dye. You can also dye the day of, just make sure they’re at room temperature before you starting dying.

I bought a kit from the grocery store for a little over a dollar and it came with 9 dye tablets and a bunch of of other accessories.
Main essentials are:
dye tablets
small plastic cups
an egg dipper tool
an old egg carton or something you can repurpose as a drying rack for the eggs
rubber bands or a magic crayon for designs (we didn’t get this fancy)
a towel or sheet to protect your work area

As you can tell, Mason was very excited to get started.
We began with the white eggs. We added 1 egg per color cup and set a timer for 5 minutes.
We then used the egg dipper to remove the eggs and let dry.
Then we added the brown eggs for about 10 minutes. Then we flipped the eggs in the dye and did another 5 minutes. We had read that brown eggs need longer to absorb the dye since there shell is darker and the color wouldn’t show up otherwise.
We removed the brown eggs from the dye and let those dry as well. It was so fun to see the final product!

The main difference was that the white eggs tended to be lighter and more of a pastel color, while the brown eggs were deeper more rich colors. In the picture above, the brown eggs are on the left and the white eggs are on the right.
If you’d like to snag some of our eggs in time for Easter, you can shop our online store here and choose the pick-up location that works best for you. We are doing a big egg sale thru Easter, so stock up while you can!
Tell us in the comments below your favorite ways to dye eggs! Have you ever used natural dyes with ingredients such as coffee, turmeric or beets? Have you ever dyed brown eggs? How do you enjoy decorating them? I know some of you are a lot more creative than me! Would love to hear from you below :)